


Control - Receiver
How do we program the control system for our yacht?
6/1/20262 min read
Are you wondering how to build a receiver for your remote-controlled project? You're in the right place. In this article, I'll desribe solutions that have been tested and proven to work.
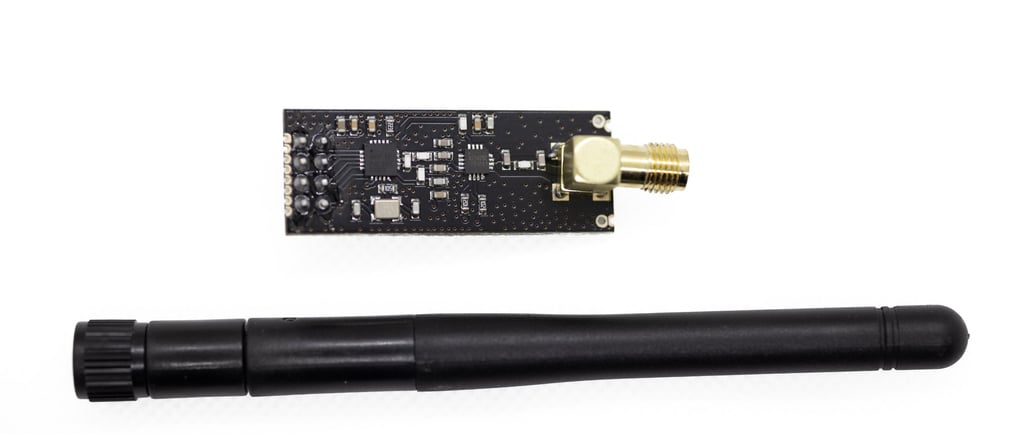
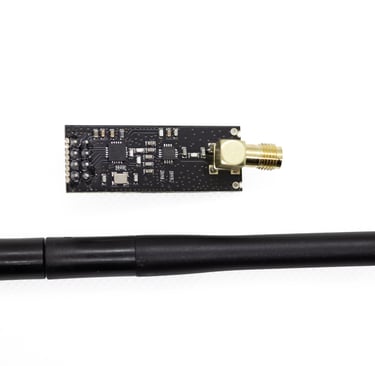
Just like with the transmitter, we use the NRF24L01 module with an external antenna. It required more power, but it makes up for that with a longer range. In RC sailboatts, we usually want to control the rudder, mainsail, and jib. If we choose single-axis sail control, we use an SG90 or MG90S servo, depending on the size of the yacht. For significantly larger builds, stronger mechanisms are needed. Because this setup draws more power, and because two serwos are required, a DC-DC converter is also needed to regulate voltage, for example an LM2596. The whole system is controlled by an Arduino Nano: https://store.arduino.cc/products/arduino-nano.
In our store, we offer ready-made PCB boards for assembling these components, which makes the build easier and reduces the amount of space needed in the hull: https://rcsailing.eu/plytka-pcb-jacht.
It is also possible to use much cheaper Chinese Arduino-compatible boards, but you should keep in mind that some of them may be faulty.
Below is the code that needs to be uploaded to the microcontroller to make the receiver work. Of course, this program works together with the transmitter code described in the previous article.
The most important things are:
include the libraries,
define the CE and CSN pins correctly,
use the same address as in the transmitter,
use the correct variable types,
set the radio receiver mode: radio.startListening.
When testing the program, it is worth starting with transmitting just one variable. Connect a single potentiometer to the transmitter input, and comment out one of the variables in the code.
If you have any questions, contact us.
#include <SPI.h>
#include <nRF24L01.h>
#include <RF24.h>
#include <Servo.h>
#define CE_PIN 9
#define CSN_PIN 10
Servo servo1;
Servo servo2;
const byte thisSlaveAddress[5] = "00001";
RF24 radio(CE_PIN, CSN_PIN);
struct Data{
int16_t x;
int16_t y;
};
Data SERVOS;
bool newData = false;
int16_t xData=0;
int16_t yData=0;
//===========
void setup() {
servo1.attach(2);
servo2.attach(4);
Serial.begin(9600);
radio.begin();
radio.setDataRate( RF24_250KBPS );
radio.openReadingPipe(0, thisSlaveAddress);
radio.startListening();
}
//=============
void loop() {
getData();
showData();
}
//==============
void getData() {
if ( radio.available() ) {
radio.read( &SERVOS, sizeof(SERVOS) );
newData = true;
}
}
void showData()
{
if (newData == true)
{
//Serial.print("Data received ");
xData = SERVOS.x;
yData = SERVOS.y;
Serial.println(xData);
Serial.println(yData);
servo1.write(xData);
servo2.write(yData);
newData = false;
}
}
RC sailing
We invite you to connect with us on social media or by email or phone
Contact
+48 788 619 201
© 2024. All rights reserved.